Nauset Light
NOVEMBER 28, 2017 FINISHED LIGHTHOUSE
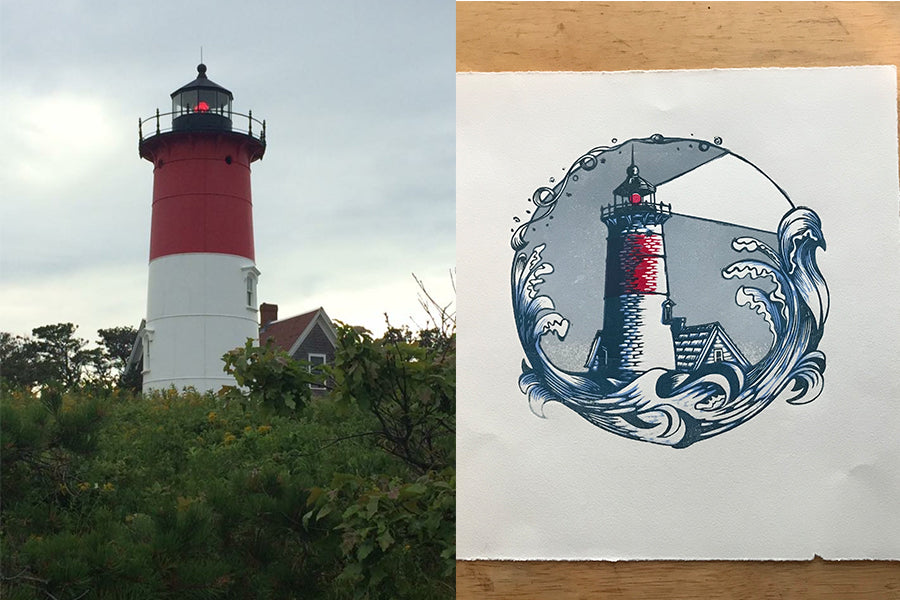
Today Nauset Light was finished. I am titling it "Guide My Way Tonight" - which is a loose nod to the Rudolph story where he's asked to guide santa's sleigh. This being a Christmas card creates that connection, but also stands the test of time throughout the year as it is generally a more inspirational title rather than a specifically seasonal one. GET YOUR COPY HERE
NOVEMBER 24, 2017 WAVE UNDERCOLOR
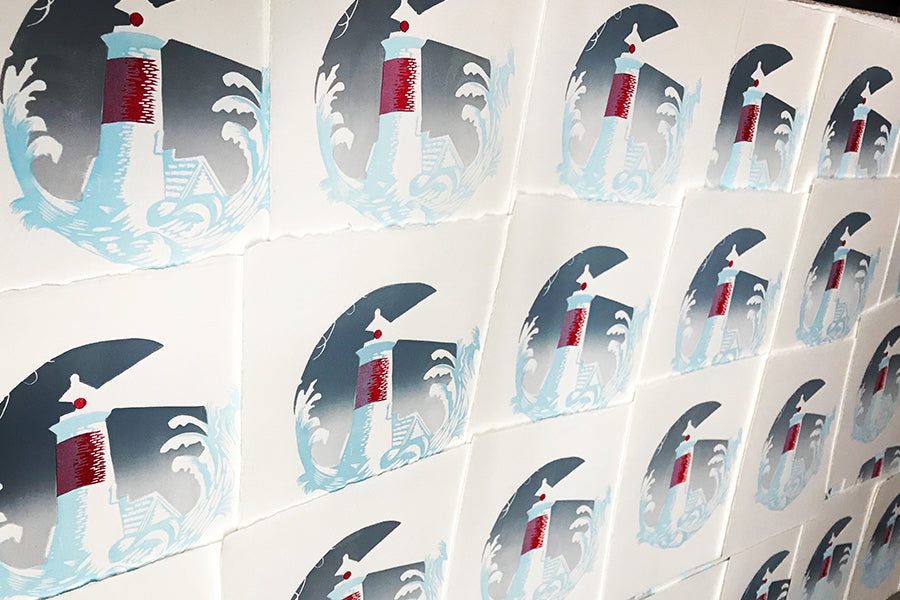
Today the wave undercolor was printed on my C & P. Looking good!
NOVEMBER 22, 2017 - SECOND COLOR
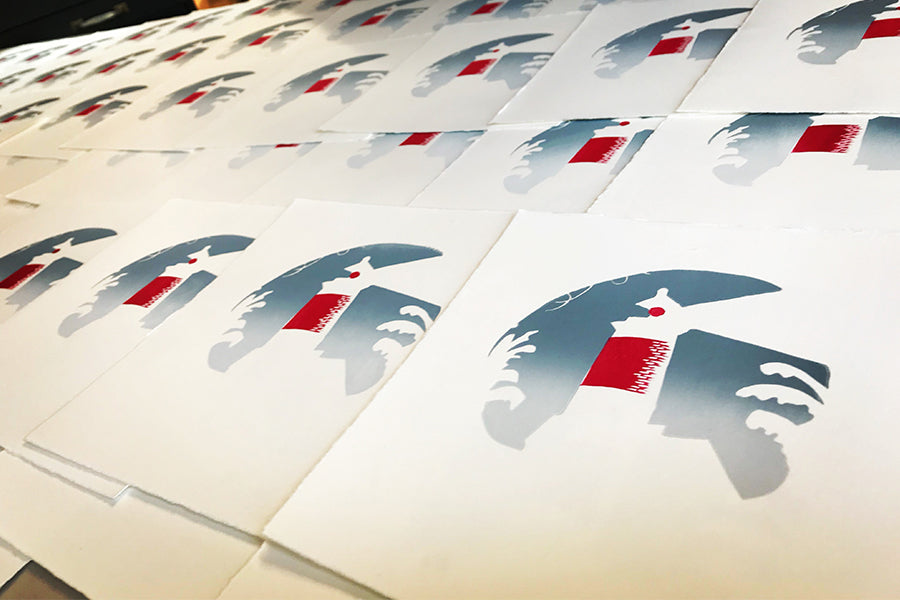
Here's how we look after the second color is added!
NOVEMBER 22, 2017 -SKY LOCKUP
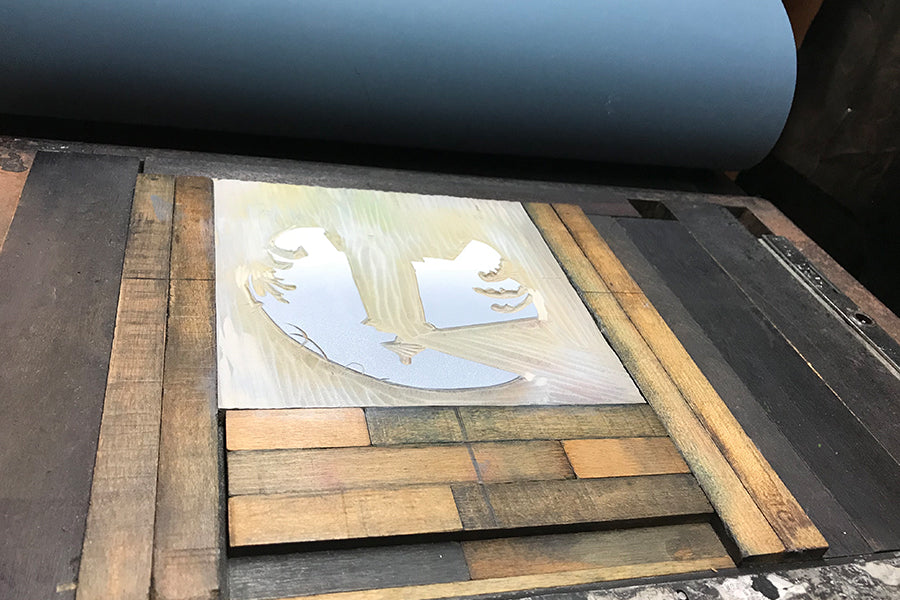
Today's the day! I am adding the overcast sky gradient to my print. For this block I am running the print through my monotype press rather than my Chandler and Price 10 x 15 letterpress. I'm doing this so I can get better control of the gradient needed to get that sky even.
NOVEMBER 21, 2017 -COLOR BLOCK LAYOUT
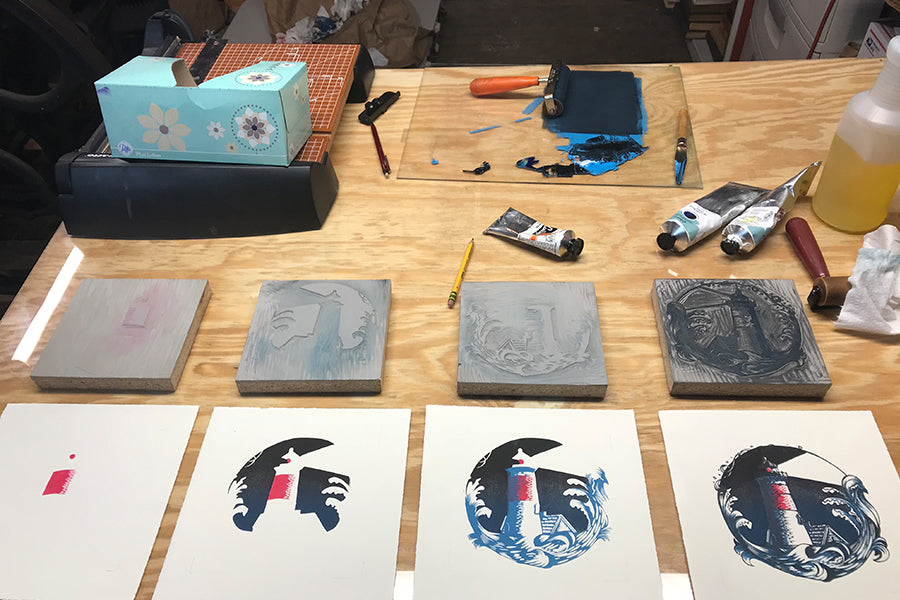
A quick look at how the printing process will go in terms of laying out these colors. The first color to the left will go down followed by the next blocks to the right.
NOVEMBER 20, 2017 - COLOR TEST
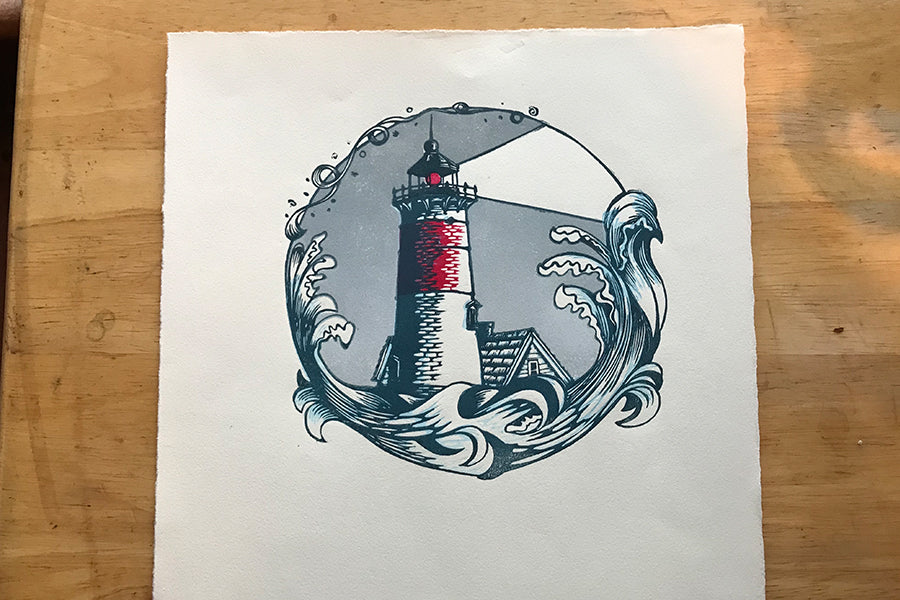
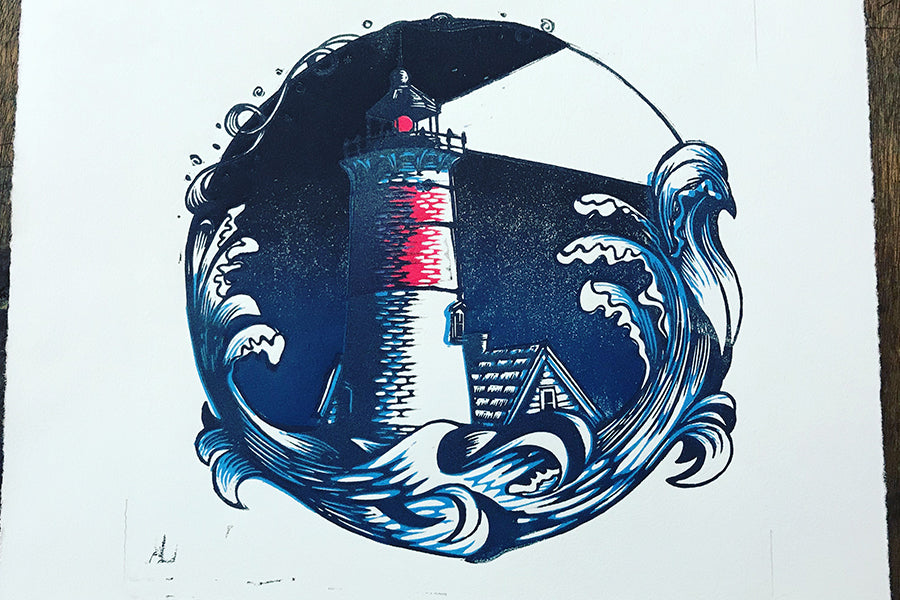
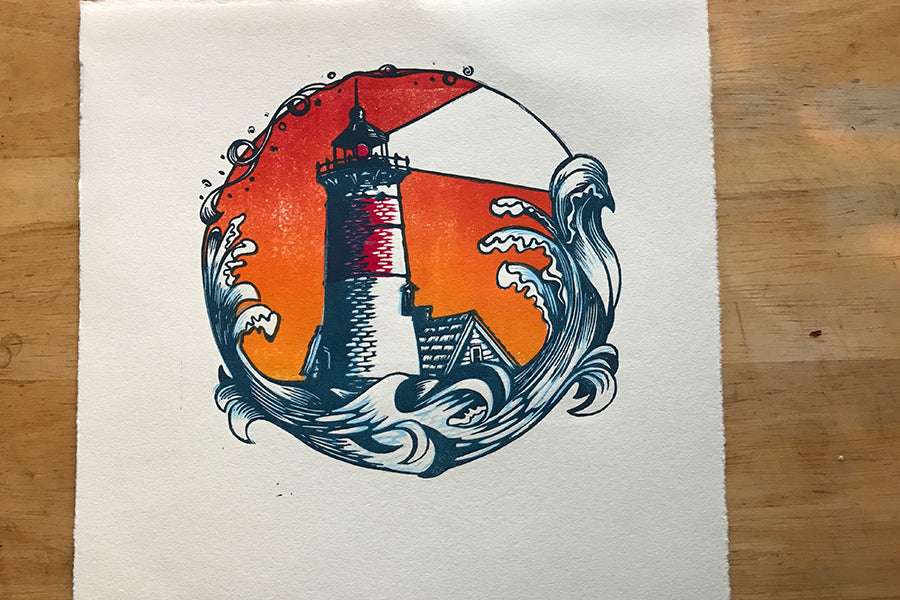
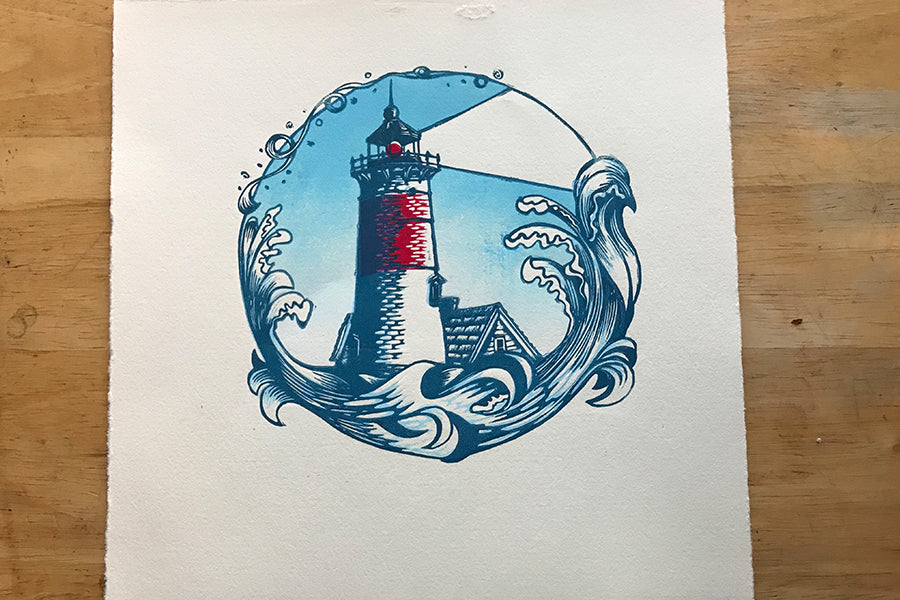
So - I kind of have an idea of what I want this lighthouse to look like, but figured I'd have some fun with color testing. I posted a whole bunch of these to facebook and instagram with HUGE amounts of feedback. So much fun! In the end I most liked the mood and look of the overcast sky.
NOVEMBER 20, 2017 - A DECKLED STACK!
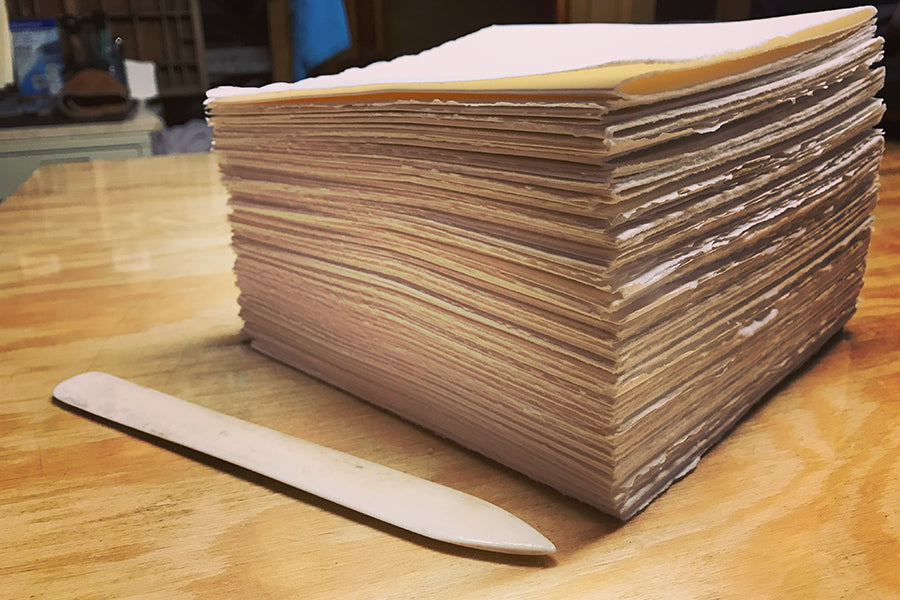
OK - the time has come. Paper is hand torn and ready to go, love that deckled edge! I am using Rives BFK Heavyweight white.
NOVEMBER 17, 2017 - CARVING THE COLOR BLOCKS

It's getting cold. That means I don't have much time left before I need to begin printing! Here are two color blocks, red on the left and the first blue on the right. One more to go after these!
NOVEMBER 16, 2017 - KEYBLOCK TRANSFER
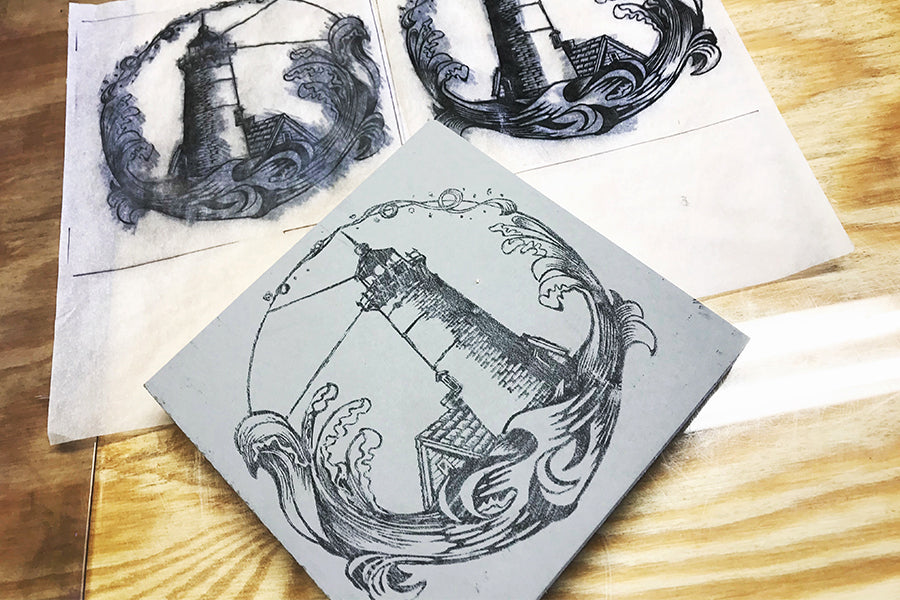
The final transfer for my first colored block. Process steps below:
1 - print with oil based ink from the keyblock to tracing paper
2 - flip your printed paper onto your next block, careful to align the image exactly.
(I marked my printed area on the corners of the paper when the block was placed)
3 - holding the paper firmly in place (or tape it) use a pencil to rub the reverse side of the tracing paper over the inked image
4 - remove the paper and check out your keyblock image on your next colored block!

Transfer time! I've printed my keyblock onto tracing paper here, which I then flipped and placed onto my second block, color #1, for an exact image placement which will server as my carving guide.
NOVEMBER 16, 2017 - KEYBLOCK TEST PRINT
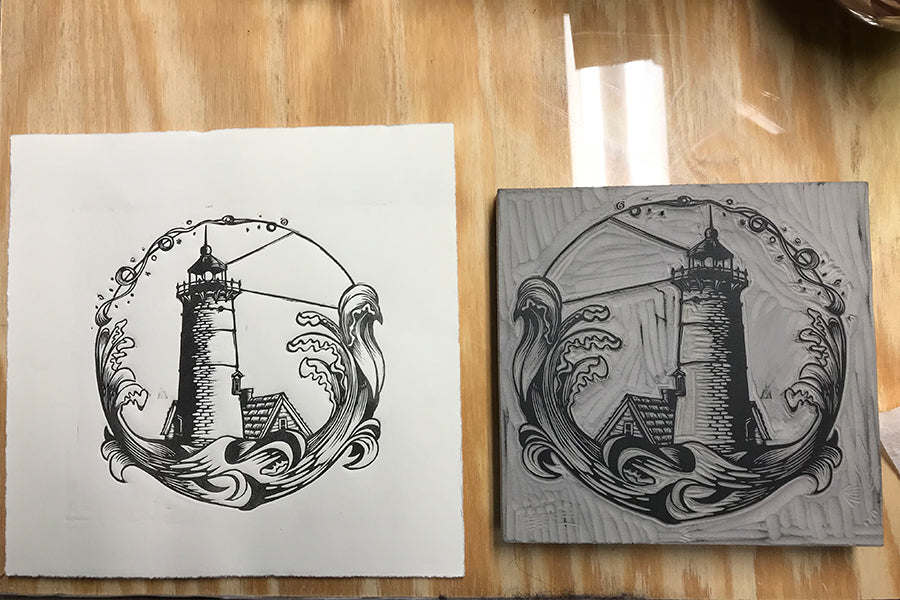
Rough first print of the key block. All in all, not bad. It's a little dark in places and I need to open up a few marks in the tower, but I'm really liking the energy in the waves!
NOVEMBER 14, 2017 - KEYBLOCK FINISHED
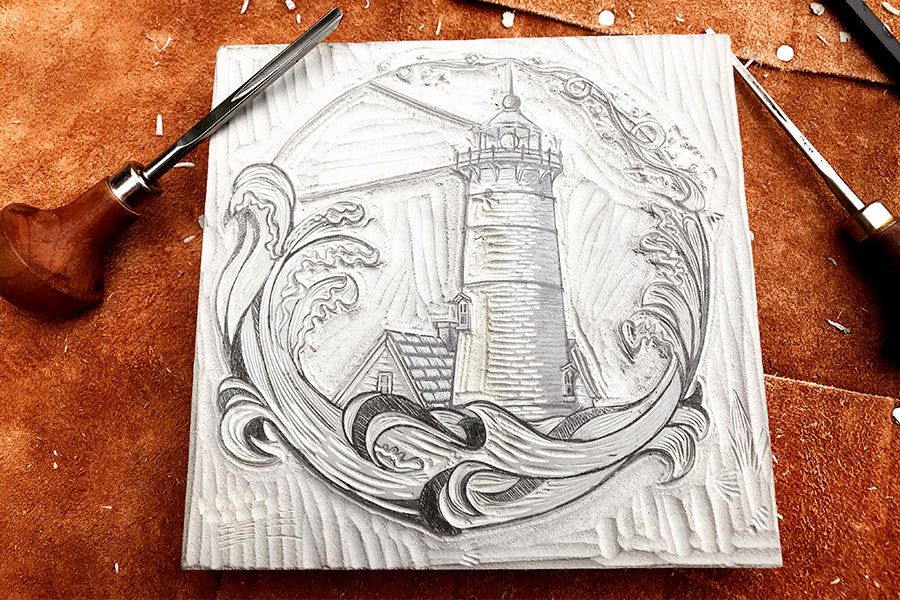
After a bit of cleaning, some roofing and the rest of the tower, I think I'm ready to pull the keyblock test print!
NOVEMBER 12, 2017 - BRICK CARVING
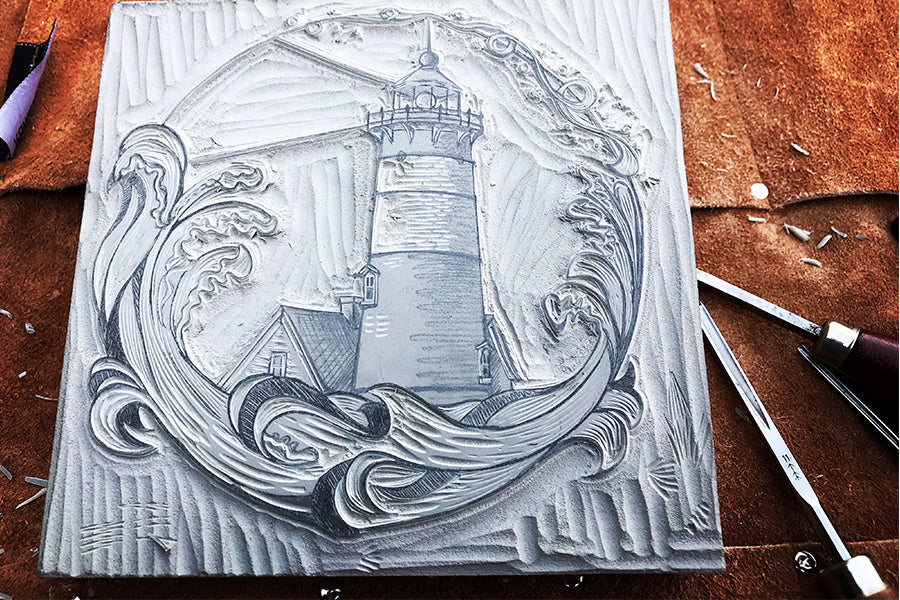
Right - so had some real thought processes going on here for the brick area of the house. Do I hatch it, keep it clean, or use the blade for what it is to convey bricks, but just with the shape of the tools mark? The latter was my choice and I think a more natural approach.
NOVEMBER 9, 2017 - LIGHTHOUSE CARVING UPDATES

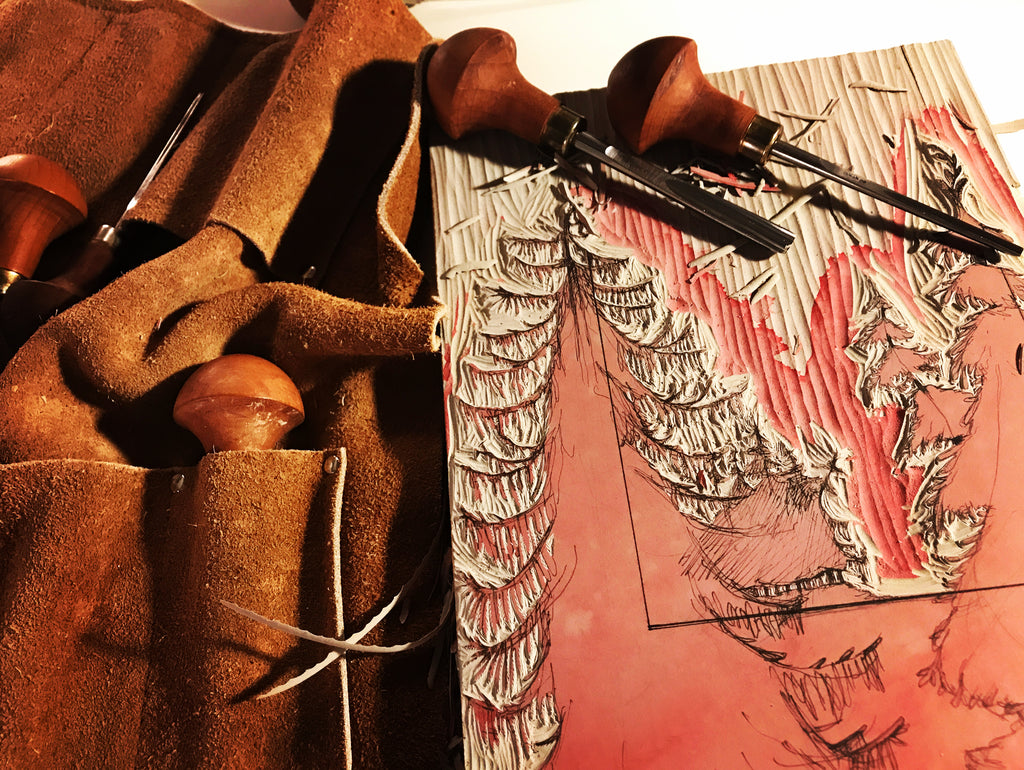
Switched to a small "U" gouge for a different wave texture where the water opens up to a larger area.
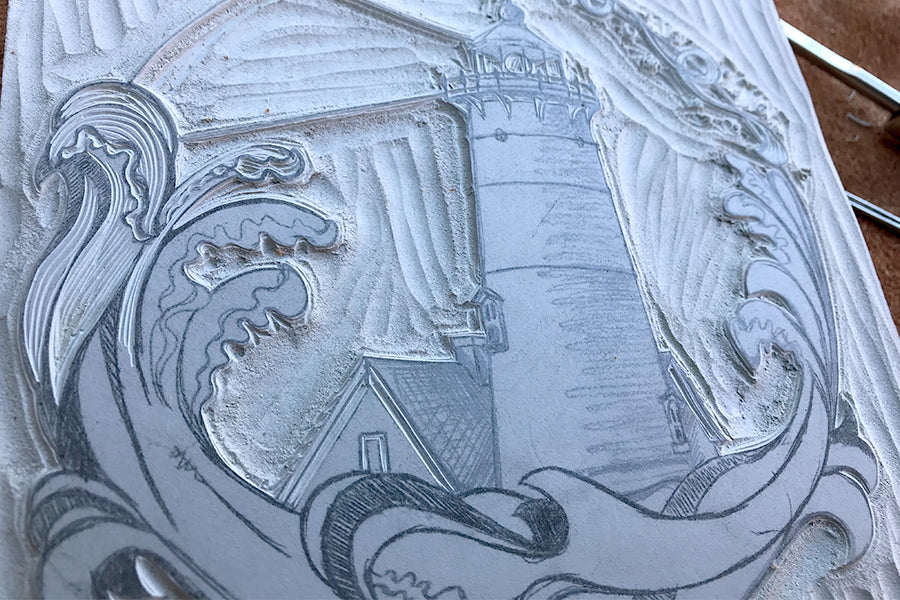
Beautiful fall day outside made for a great carving session. I've had some fun exploring the texture of these waves with my viner blade.
OCTOBER 22, 2017 - NAUSET LIGHT CARVING BEGINS
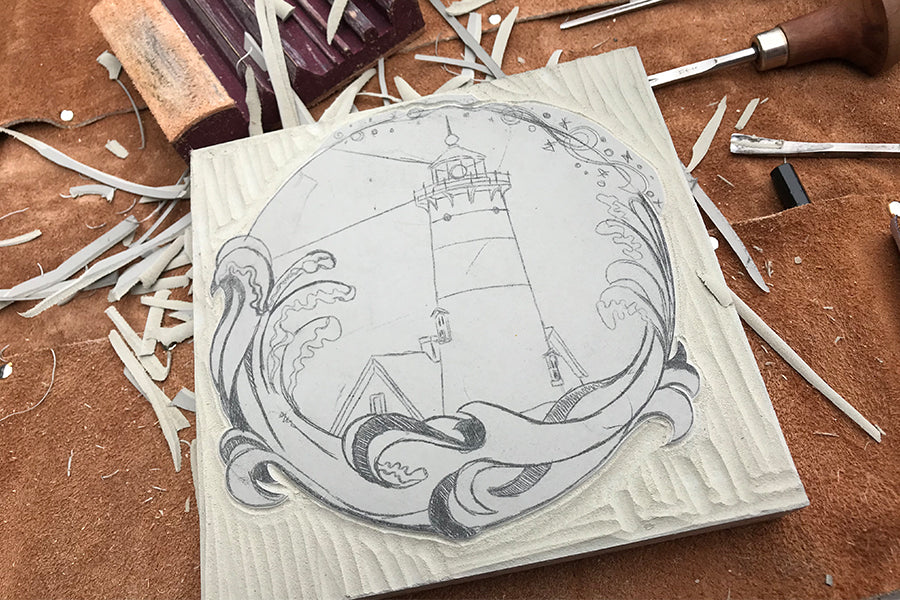
After a few minutes the excess lino is removed!
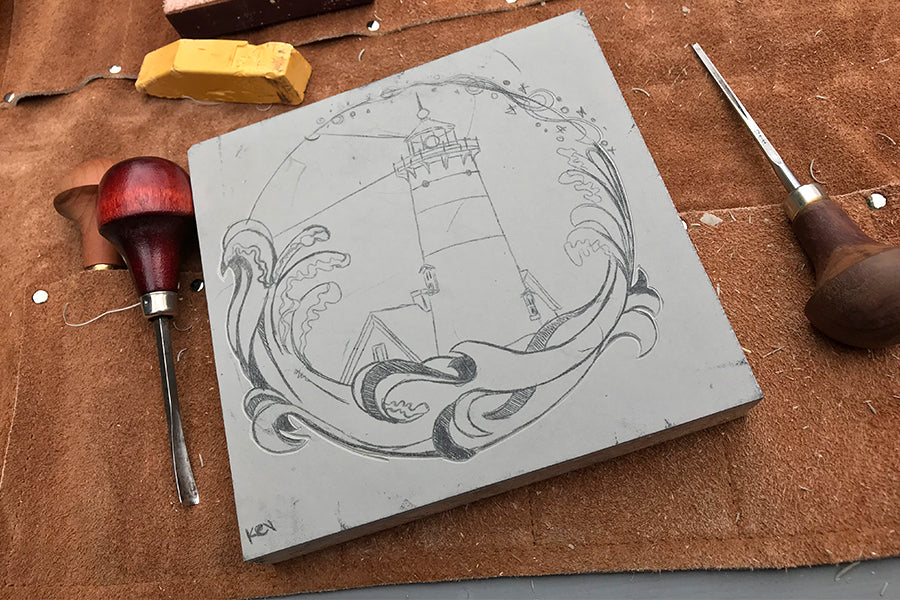
The original sketch is traced onto tracing paper. After cutting down 4 mounted linoleum blocks exactly to size (this print will have 4 colors) I take the first block and tape carbon paper to its face. I then take the tracing paper, flip it, and tape that over the carbon paper. This gives me a clear, reversed image of my intended drawing, which I then trace again, revealing the carbon paper rubbing underneath as shown in the photo.
OCTOBER 10, 2017 - GUIDE MY WAY TONIGHT - 2017 CHRISTMAS CARD SKETCH
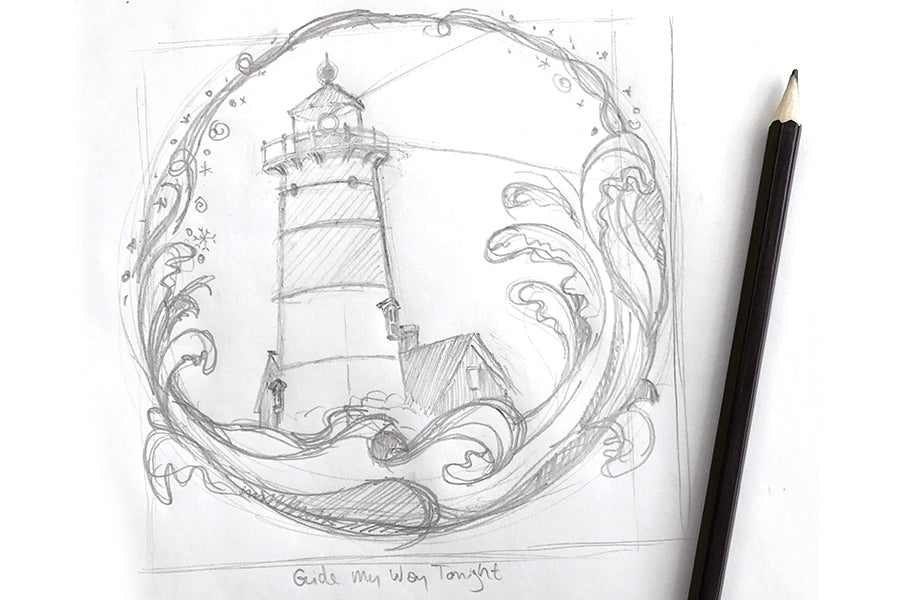
The original sketch "Guide My Way Tonight" is inspired by Nauset Light, Cape Cod. My family (large and loud) have visited this area for years. There's a connection here that is fitting for this year's card. Maybe in the spring I'll explore doing a cut for each cape light.
Leave a comment
Comments will be approved before showing up.

